When a you need to perform a qualified signature, you have to own a QCP-n-qscd certificate.
You must be the unique owner of the certificate and the only one to authenticate securely with a two-factor authentication.
Once the signature requester sends the transaction and your action is ready, you receive an invitation to sign the documents.
When you perform a qualified signature for the first time:
- We create you a QCP-n-qscd certificate.
- You read and sign the documents.
Note that for qualified signatures, you must create a PIN code, in addition to entering your telephone number, which will enable you to authenticate yourself each time you use your QCP-n-qscd certificate and authorize the signature.
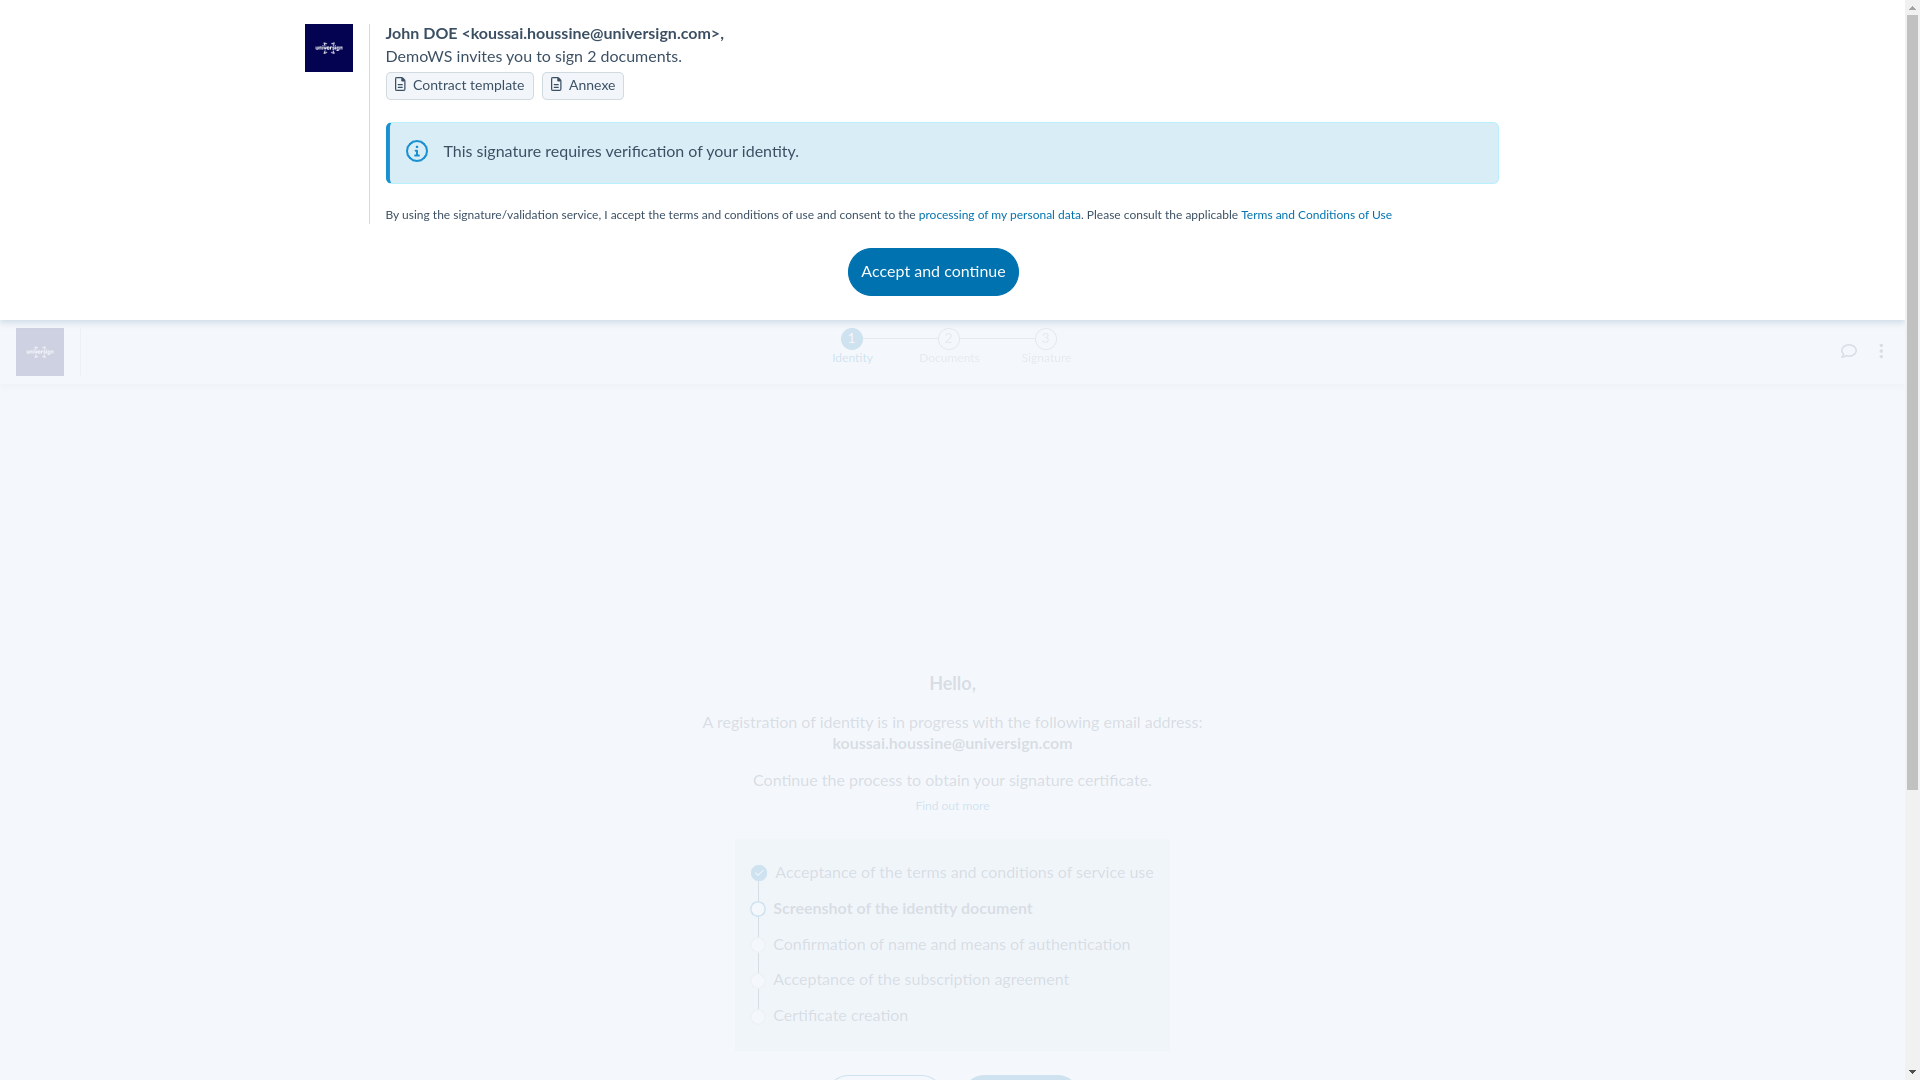
Accept Terms and Conditions of Use (1)
Once your action is ready to be performed, you receive a link to access the signature page.
To access signature page, you need first to accept the Personal Data Protection Policy and Terms and Conditions of Use related to the use of our signature and validation services.
Confirm personal data
Before launching the identity verification stage, which allows us to create your signature certificate, you may need to validate your personal data if they were filled in by the signature requester (full name conform to your ID document and phone number).
If your data are valid
Select the Yes, these details are correct option and click the Validate button. You can then proceed with ID verification.
If your data are not valid
Select the No, there is an error in these details option and click the Validate button. Now you need to edit the incorrect details.
Once you validate your correct details, the signature requester will be notified via our instant messaging tool (only if the feature is active in the signature requester’s account).
Once your data are corrected, the link to acces the signature page is updated and you can then proceed with ID verification.
Accept Terms and Conditions of Use (2)
Before we can verify your identity, you need to accept:
- Personal Data Protection Policy for certificate issuance,
- Terms and Conditions of Use for Personal Space creation.
Identity verification
To issue a QCP-n-qscd certificate, we have to verify remotely your identity. This verification process is qualified (by the ANSSI) and will be performed into 2 steps.
The first one consists in capturing both faces of your ID document and realising challenges to ensure that you are not presenting a fraudulent document.
The second step is what we called the proof of life and allows to detect fraudulent behavior.
Video identity verification
You can use either your smartphone or your web browser to proceed with the capture of your identity documents.
Note that the use of smartphone’s camera is highly recommended because of the quality of the pictures.
Then follow the steps described below.
Note that you need to verify each side of your identity document separately.
Video selfie
Once your identity document verified, you can proceed with the video selfie. This identification method allows us to make sure you are a real person and you are the one on the ID document.
During the selfie step, challenges are resquested. To do so, you have to pay attention to the guidelines and realise the challenge in the time frame.
Make sure that there is sufficient light and no reflect to record a video of quality.
Confirm extracted data
Once the ID document is verified, our system compares the information issued from the ID document to identity information previously provided by the resquester in order to ensure that the identity expected is correct.
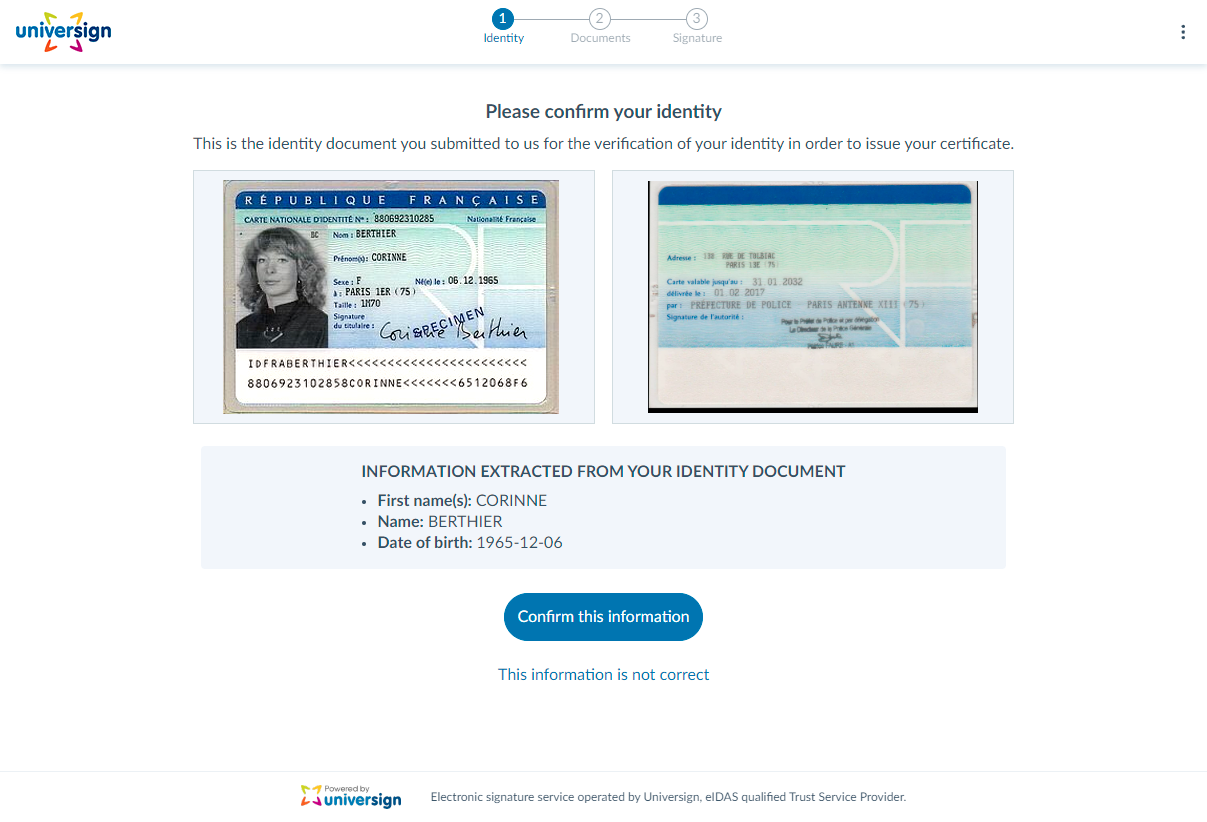
- If all information are correct, click the Confirm this information button.
- If there are incorrect information, click on This information is not correct, then you need to restart the verification process.
Confirm/fill in authentication data
Depending on whether or not the signature requester has previously filled in your name and/or phone number, you must either:
- confirm the data previously filled in by the signature requester,
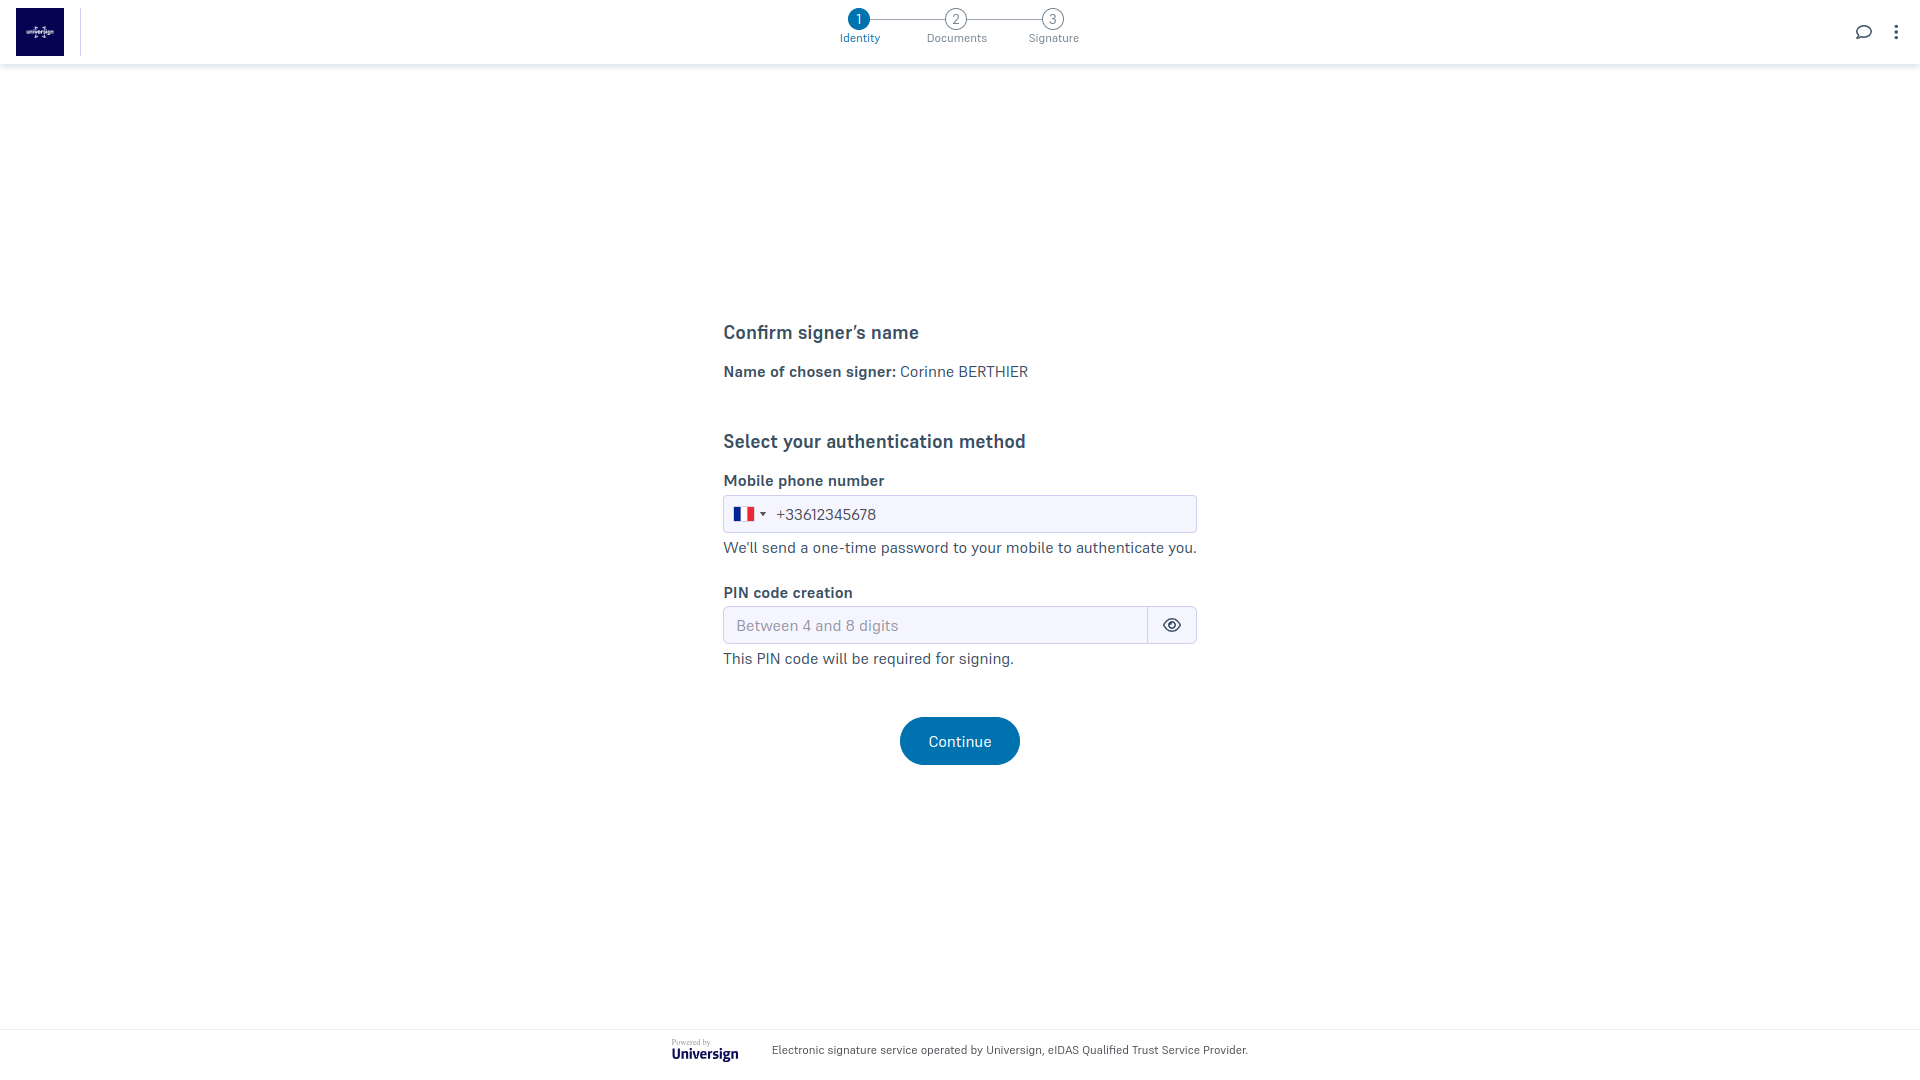
- select the first name(s) and last name(s) to be used for the signature (from those automatically extracted from your ID document) and enter the phone number.
Create your PIN code
Now you need to create a PIN code (between 4 and 8 digits). This PIN code allows you to authenticate each time you use your QCP-n-qscd certificate and authorize the signature.
Authorize certificate creation
Now that your ID document is verified, you need to agree to the terms and conditions to allow us to create a qualified certificate. Read and accept the Certificate request to carry on the signature process.
Read and accept documents
You can now read the documents you need to sign and accept them.
Contact signature requester
If you have a problem signing the documents, you can contact the signature requester via our instant messaging tool, as long as you haven’t yet signed the documents (only if the feature is active in the signature requester’s account).
Manage signature process
As long as you haven’t accepted the documents, you can perform the following actions:
- download the document displayed (unsigned version),
- download all documents (unsigned version),
- restart the signature process,
- refuse the documents.
Note that once you accept the documents, you can no longer download their unsigned version (unless you restart the signature process).
Sign the documents
Once you read and accept the documents, you can proceed with the final step of your signature process.
- Select the certificate you want to use for your signature (as you can hold several ones).
- Confirm the phone number used for authentication.
- Enter the PIN code associated with your QCP-n-qscd certificate.
- Enter the OTP received by SMS to complete the two-factor authentication.
You have now performed a qualified signature.
Note that your QCP-n-qscd certificate is valid for 5 years and available in your Personal Space.
Once all signers have signed their documents, you receive an email to access your signed documents.
Your signed documents as well as your certificate are available in your Personal Space. For more details, visit Access signed documents and Access certificates.