Long-term archiving allows you to automatically send the documents of your completed transactions to a Namirial Archive vault, a NF 461 certified archiving space for very long-term preservation with probative value.
You define which documents are archived, in which vault and with which information, through routing rules.
To configure long-term archiving, go to the Administration space, then to the Archiving section.
Prerequisites
Before you can configure long-term archiving, make sure that:
- the Namirial Archive option is activated on your workspace. If you wish to activate it, contact your account manager at Universign,
- your vault has been created on the Namirial side and you received its connection details from the Namirial support team (username, password, configuration ID, company ID, VAT number, as well as the provider references of your document types and metadata),
- you have administrator rights on the workspace.
Create a vault configuration
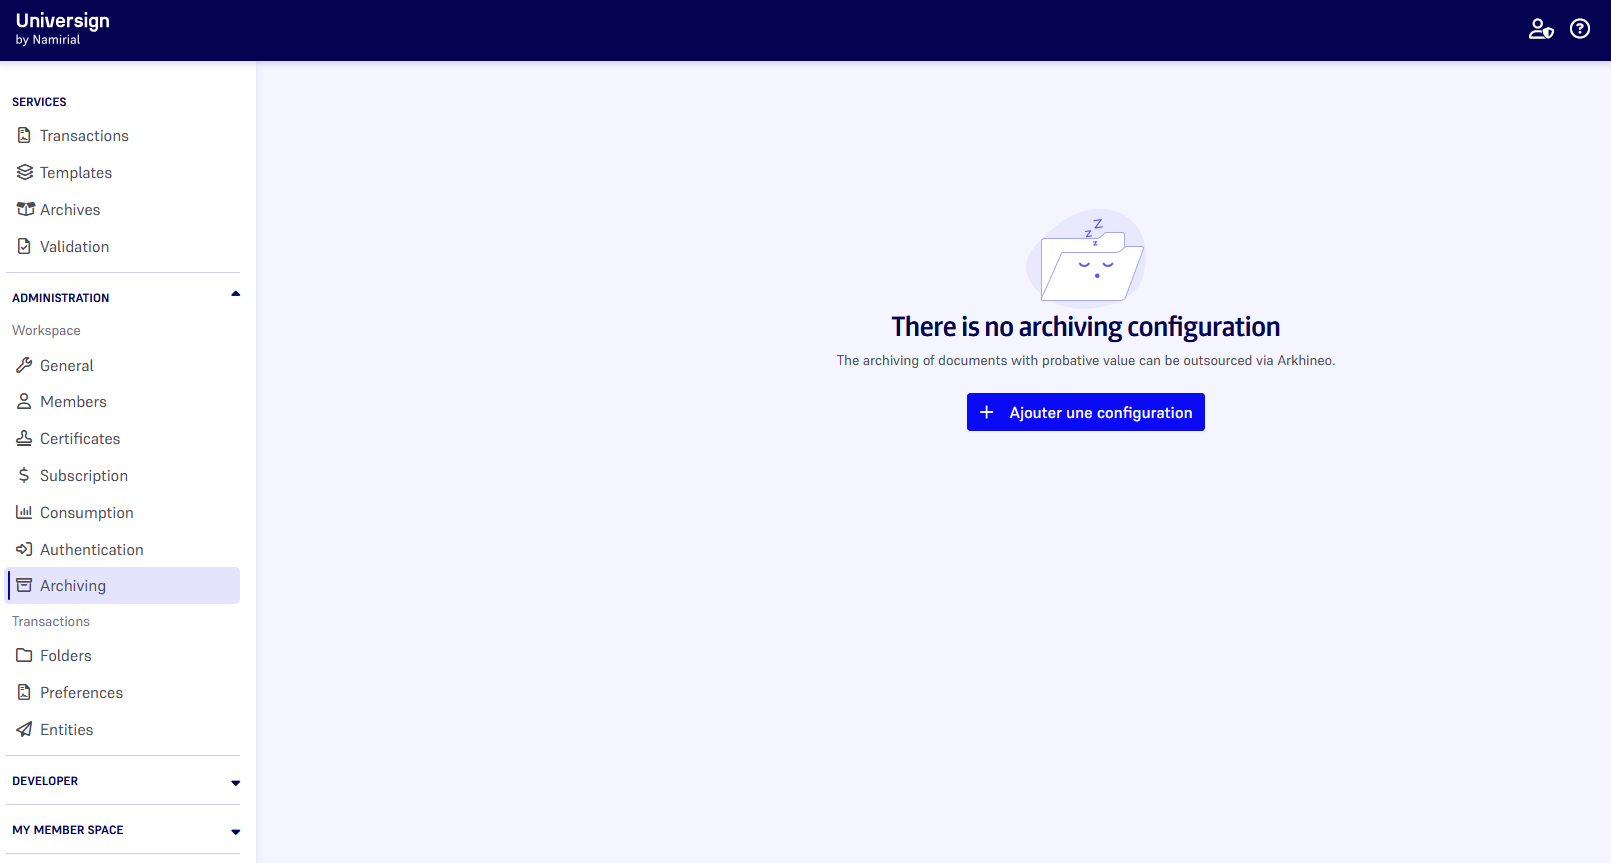
1- In the Archiving section, click Add a configuration.
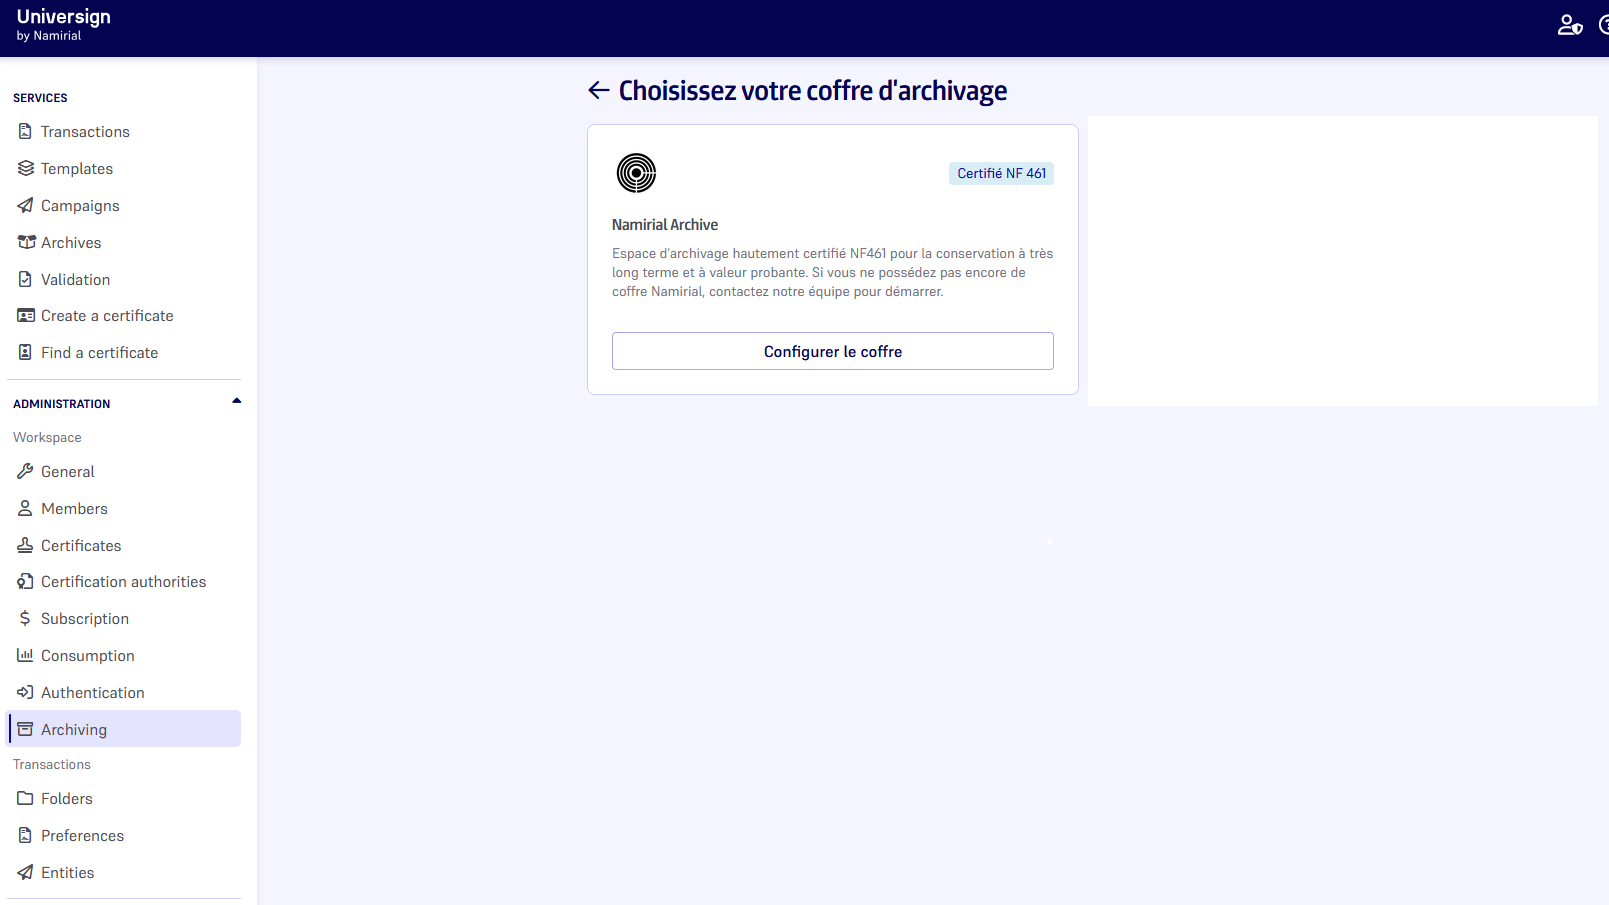
2- Select Namirial Archive, then click Configure the vault.
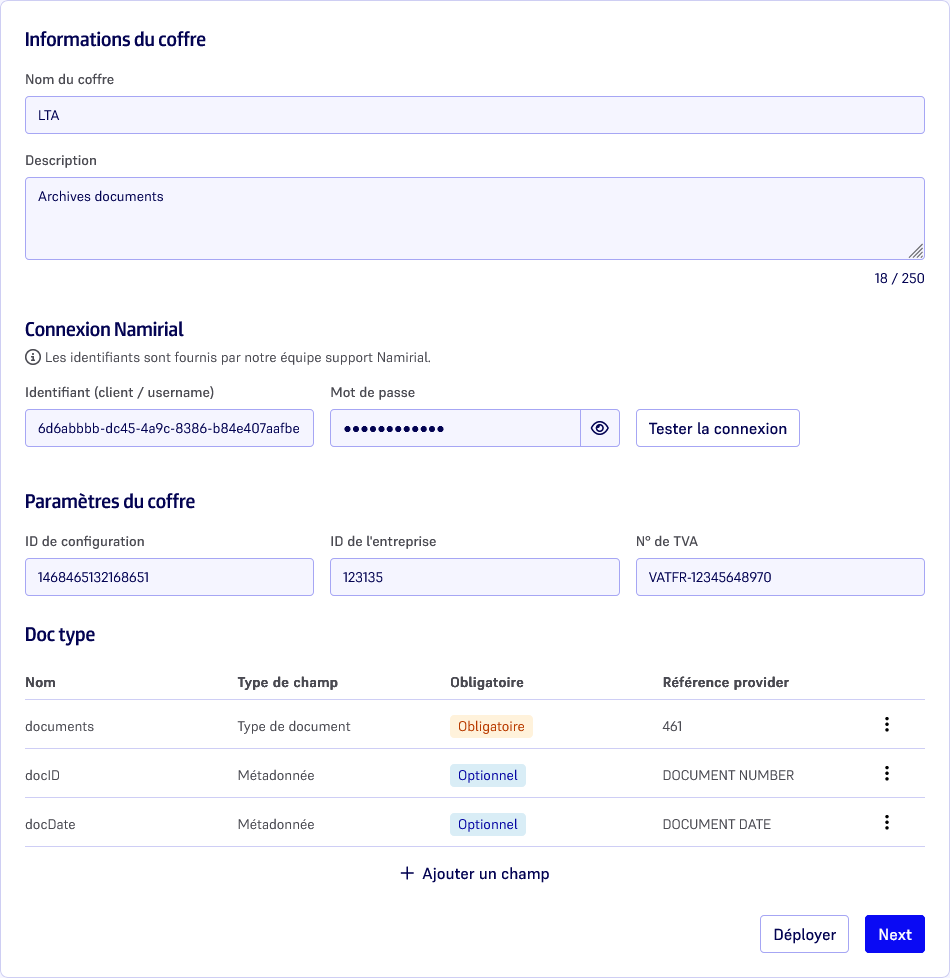
3- In Vault information, enter the Vault name and, optionally, a Description (max 250 characters).
4- In Namirial connection, enter the Username (client / username) and the Password provided by the Namirial support team, then click Test connection. The message The connection has been established successfully is displayed.
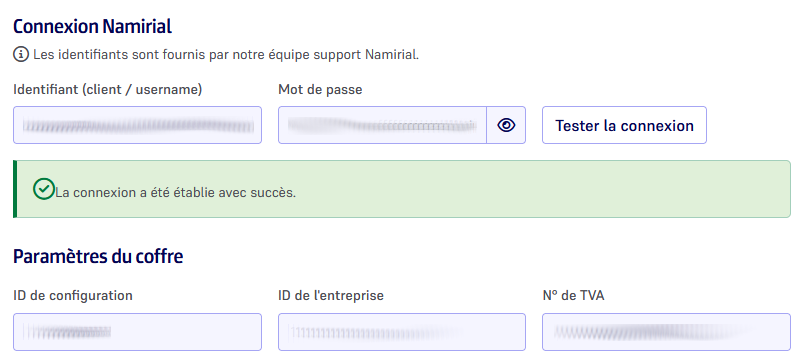
5- In Vault parameters, enter the Configuration ID, the Company ID and the VAT number. All three are required to connect to the vault.
Declare the vault fields
Vault fields define the document types (typologies) and the metadata available in your Namirial vault. You must declare at least one document type.
1- In the Doc type section, click Add a field.
2- Enter the Field name. This is the name displayed in Universign (for example SignedDocument or document_date).
3- Enable Required field if a value must always be sent to the vault for this field.
4- Select the Field type:
- Document type: a typology of your vault,
- Metadata: a metadata of your vault.
5- Enter the Provider reference:
- for a document type, the ID of the document type in the Namirial vault (id-doc-type),
- for a metadata, the name of the metadata exactly as defined in the Namirial vault.
The provider reference is always required. It is provided by the Namirial support team.
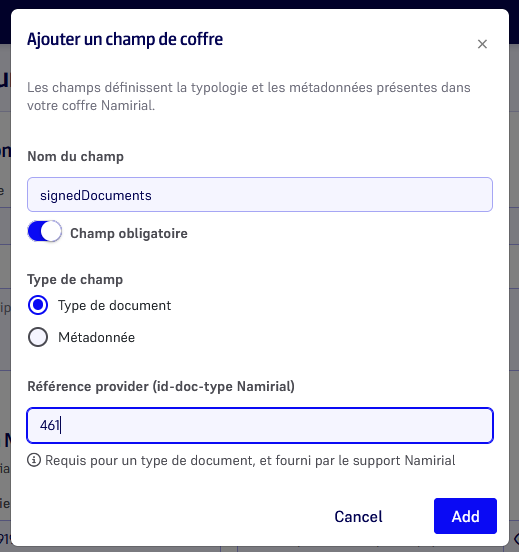
6- Click Add. Repeat for each field of your vault.
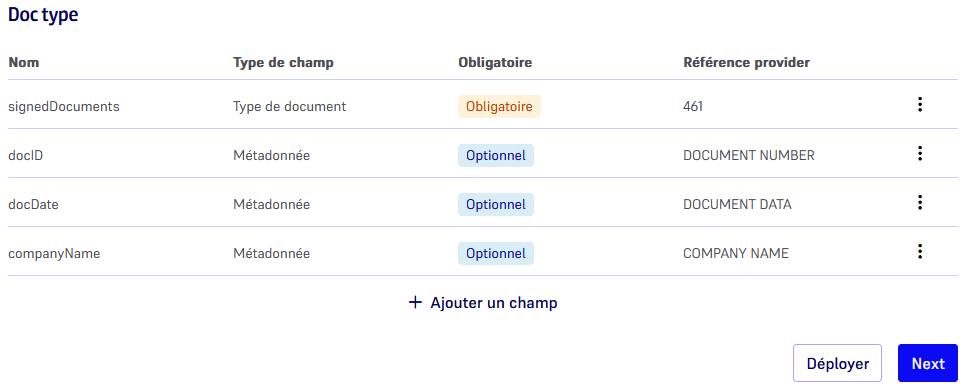
7- Click Next.
Define routing rules
Routing rules define which documents are sent to the vault and which values are sent with them.
Without any routing rule, your signed documents are not archived.
All rules are evaluated for each document. A document that matches several rules is archived once per matching rule. To route documents to several typologies, add several rules.
1- Click Add a routing rule.
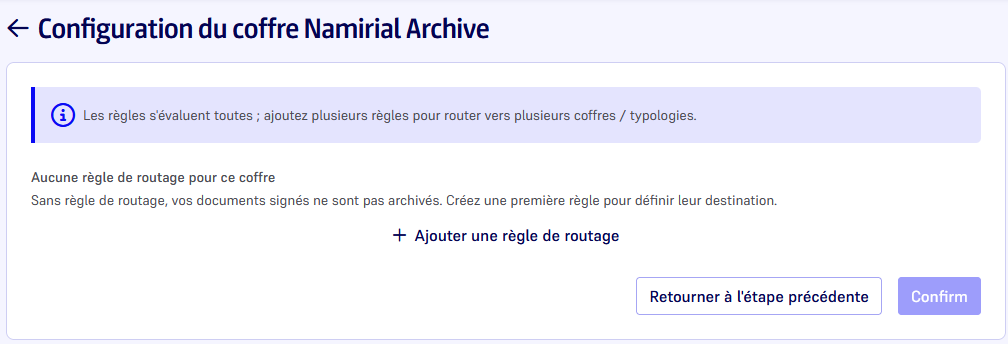
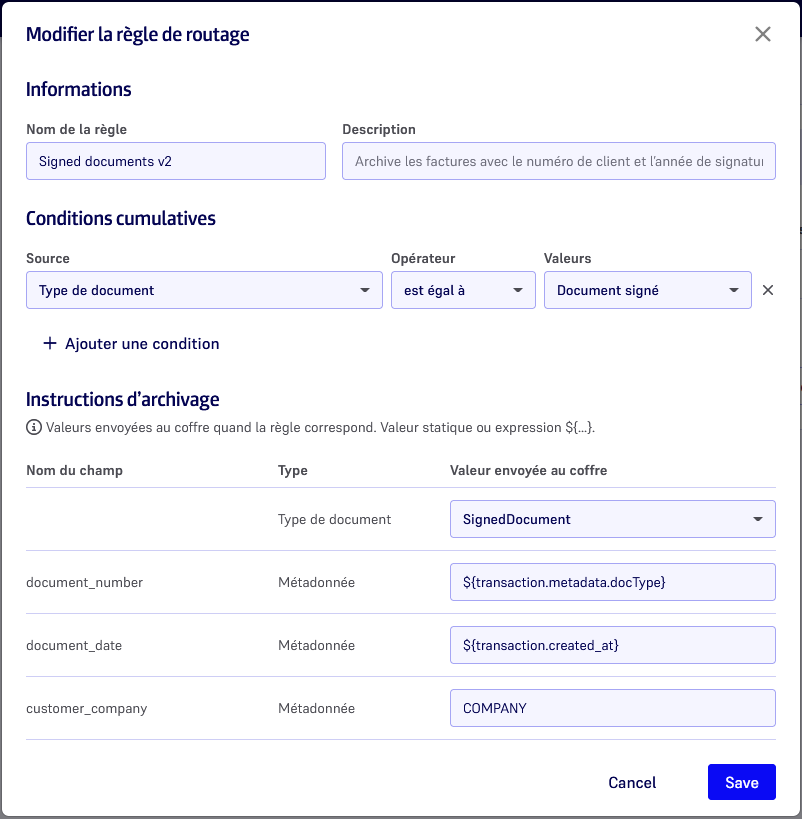
2- In Information, enter the Rule name and, optionally, a Description.
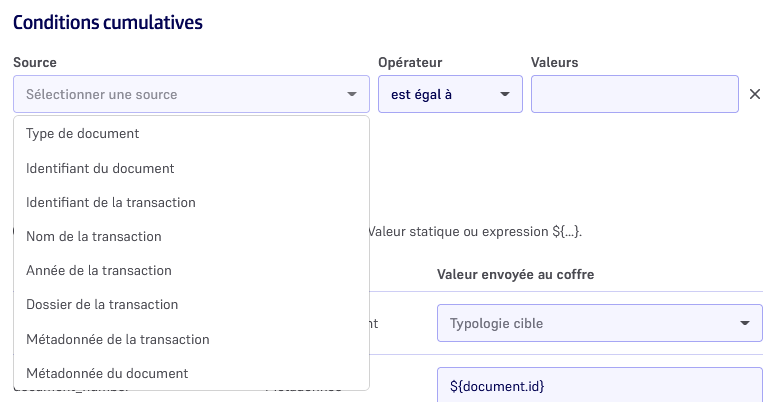
3- In Cumulative conditions, define which documents are concerned by the rule. For each condition, select a Source, an Operator and the expected Values. Click Add a condition to add another one. All conditions must be met for the rule to apply.
If you do not add any condition, all the documents of your transactions are eligible for archiving.
The available sources are:
- Document type:
Signed document,Evidence fileorCaptured document, - Document ID,
- Transaction ID,
- Transaction name,
- Transaction year,
- Transaction folder,
- Transaction metadata: enter the metadata key in the field displayed next to the source (for example
clientId), - Document metadata: enter the metadata key in the field displayed next to the source.
The available operators are is equal to, is different from, is among, is not among, is filled in and is not filled in. With is among and is not among, you can select several values.
4- In Archiving instructions, define the values sent to the vault when the rule applies:
- in the Document type row, select the target typology among the document types you declared,
- in each Metadata row, enter a static value (for example
COMPANY) or an expression between${and}.
The available expressions are:
| Expression | Value sent to the vault |
|---|---|
${transaction.id} |
The transaction ID |
${transaction.name} |
The transaction name |
${transaction.year} |
The transaction year |
${transaction.created_at} |
The transaction creation date |
${transaction.folder_name} |
The name of the transaction folder |
${transaction.metadata.<key>} |
The value of a transaction metadata (for example ${transaction.metadata.docType}) |
${document.id} |
The document ID |
${document.name} |
The document name |
${document.metadata.<key>} |
The value of a document metadata |
You can combine several expressions in the same value, for example ${transaction.id}-${document.name}.
Note that an expression must always be written between ${ and }. For example, if you enter transaction.created_at without ${}, the text transaction.created_at is sent to the vault as a static value.
5- Click Add. The rule is displayed in the list with its number of conditions and archiving instructions.
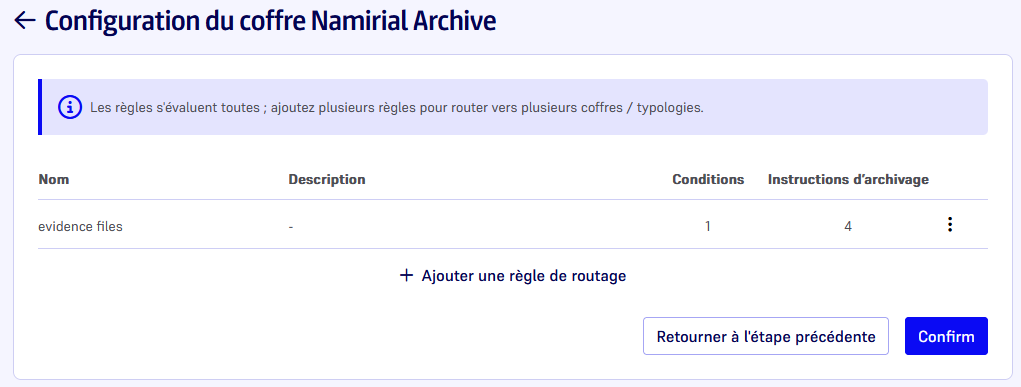
6- Click Confirm.
The message The configuration has been added is displayed. The configuration is activated automatically and displayed in the Archiving section with the Active status.
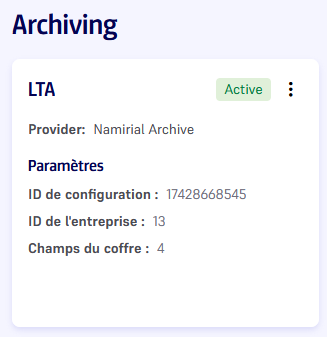
Now the documents of your completed transactions that match your routing rules are sent to your Namirial Archive vault!
Manage a vault configuration
From the Archiving section, click the menu of the configuration card to:
- Edit the configuration (connection, vault fields and routing rules),
- Deactivate the configuration, for example to temporarily suspend archiving through this vault. No document is sent to the vault while the configuration is deactivated.
You can create several configurations to archive your documents in several vaults.
Deploy your changes
When you edit a configuration that is already active, your changes are not applied immediately. Click Deploy to apply them. Until then, documents keep being archived with the previously deployed version of the configuration.